Help- Groups
New to the Life in Local community? Here is some information to help you get started.
 Click on the "Edit your group profile" link in the group's left-hand navigation pane

Add Group Contents
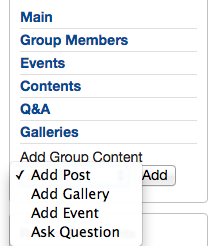 Go to the "Add Group Content" drop-down menu that appears in the left-hand navigation menu, under your group's main image. You have 4 options:
Select your option and click the "Add" button.
The types of information you can add varies for each type and are discussed below.
Add a Post
A Post is the best way to share information with other group members. Talk about your recent trip to a scenic beach or about the last fashion trends for the season. Topics can go on forever and online discussions will attract more attention to your post. The page looks like the following:
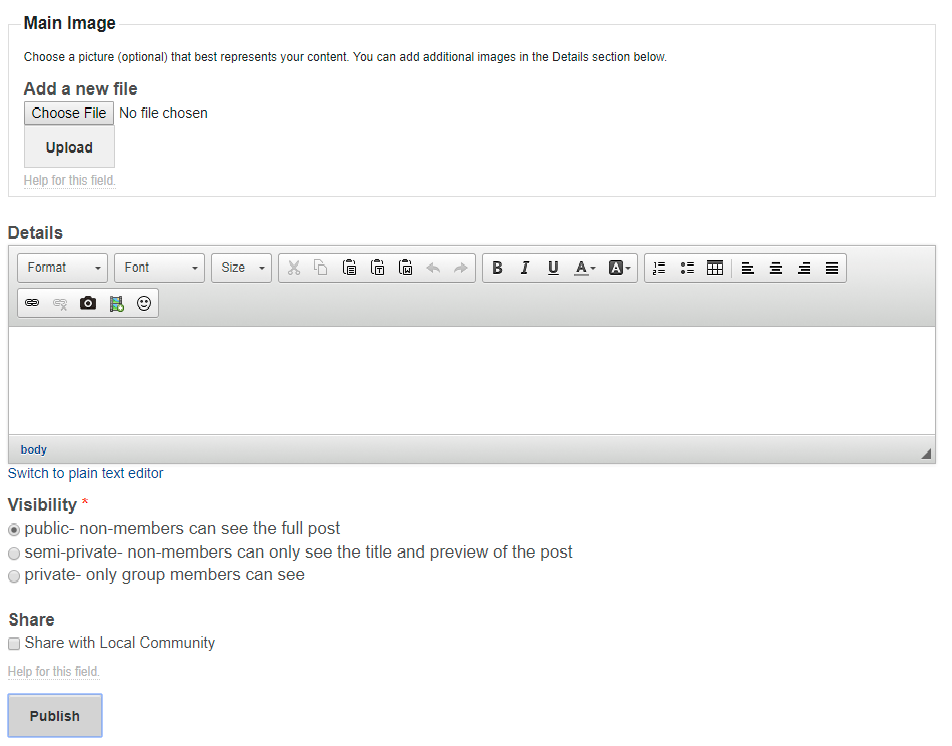
- Title- Choose a good title for your post. Make it descriptive and grab the interest of visitors.
- Main Image- Upload the main image- this will show at the top of your post as well as with the preview of it. Remember that all photos need to be yours or they need to be copyright-free. (Respect other people's rights- just because it's available on the Internet does NOT necessarily mean it's free to use.)
- Details- Write about your topic. If you are familiar with posting on blogs, posting here will be a piece of cake. You'll find many options to customize your post. You can choose the font, the font size, add bullets, make lists, change the font color, make highlights, and you can also upload more pictures within your text to make the reading a lot more pleasurable. (See tips at the bottom of this Help page.)
- Visibility (hidden in some groups)- This setting determines if your post can be viewed by people not a member of your group. Most of the time, you will want to keep the Public selection to allow the most people to view it.
- Share (hidden in some groups)- If this box is checked (and your post is Public), your post will also be previewed in the Local Community where your Group is located.
- Publish- When ready to publish, click the Publish button.
Add a Gallery
A Gallery is a more isual way to share images with other group members. The page is very similar to making a Post and looks like the following:
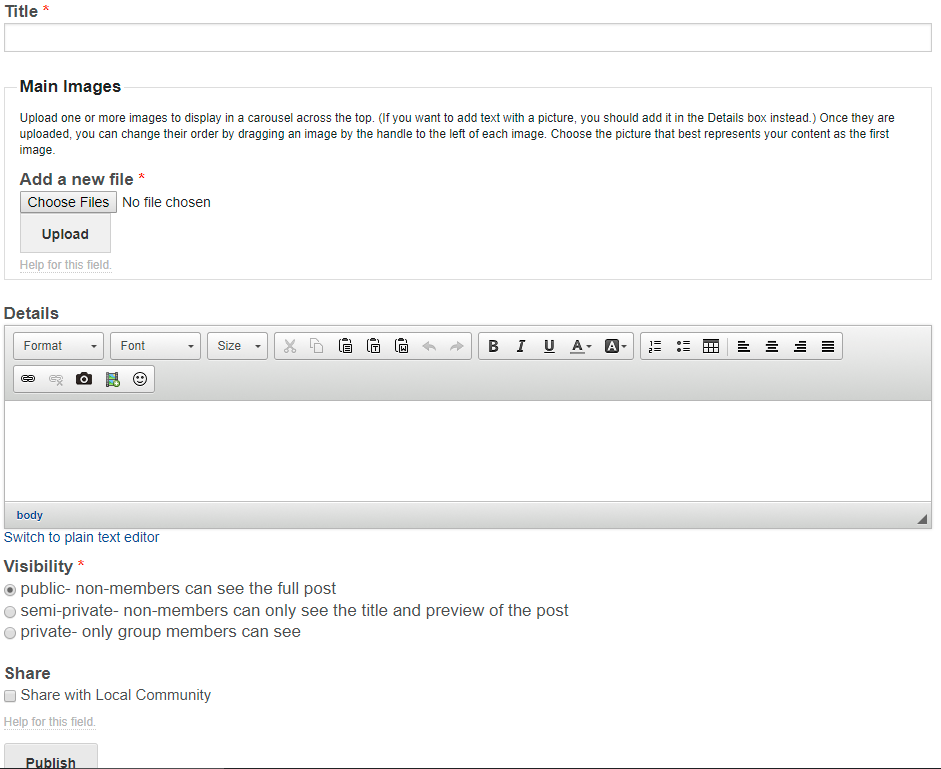
- Title- Choose a good title for your post. Make it descriptive and grab the interest of visitors.
- Main Images- Unlike other content types that have just 1 Main image, Galleries display all the main images in a popup carousel, allowing visitors to easily toggle through them. You can upload multiple images at once. Remember that all photos need to be yours or they need to be copyright-free. (Respect other people's rights- just because it's available on the Internet does NOT necessarily mean it's free to use.)
- Details- Write about your topic. If you are familiar with posting on blogs, posting here will be a piece of cake. You'll find many options to customize your post. You can choose the font, the font size, add bullets, make lists, change the font color, make highlights, and you can also upload more pictures within your text to make the reading a lot more pleasurable. (See tips at the bottom of this Help page.)
- Visibility (hidden in some groups)- This setting determines if your post can be viewed by people not a member of your group. Most of the time, you will want to keep the Public selection to allow the most people to view it.
- Share (hidden in some groups)- If this box is checked (and your post is Public), your post will also be previewed in the Local Community where your Group is located.
- Publish- When ready to publish, click the Publish button.
Tricks to Enhance your Posts
- Uploading pictures inside text
Images will make your post extra fun and friendlier to readers. Try to use pictures of your own or search for the ones that have creative commons or are free of rights. For this, all you need to do is click on the camera icon and upload the picture from your computer.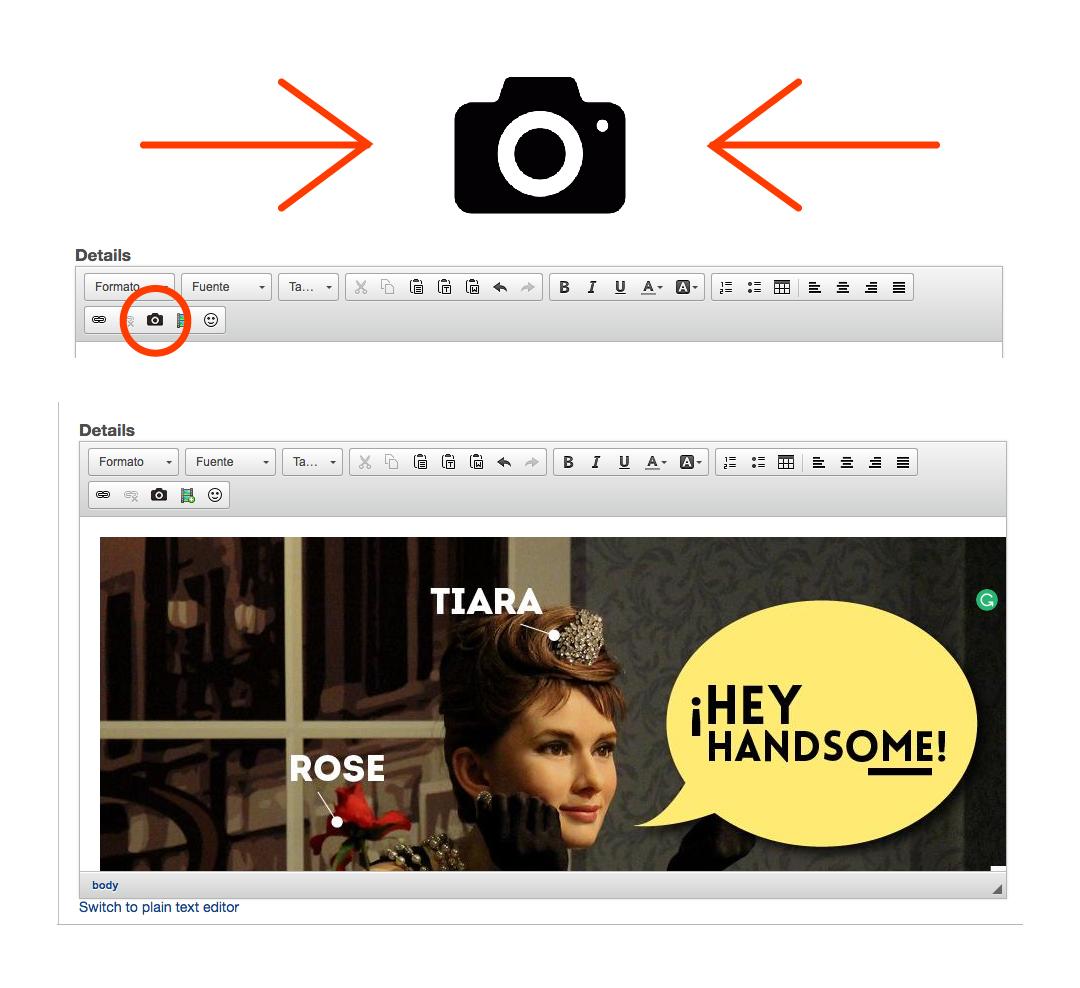
- Embedding a Video
You can embed videos from YouTube that will be great to demonstrate recipes, share songs, and introduce movie trailers. All you need to do is go to YouTube and find the video you want. Then click on the "share" button and copy the link that will be displayed. Copy the link into your text and you will be ready to go. Check out the following image for a short tutorial.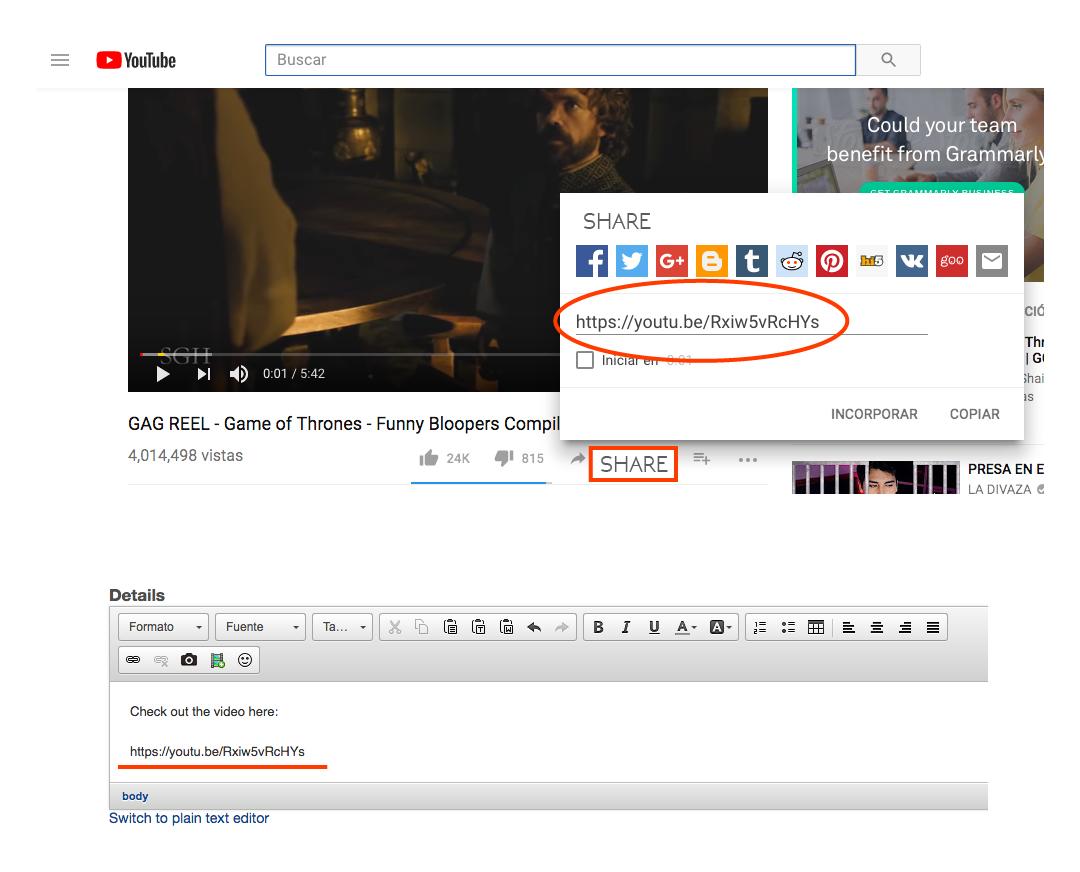
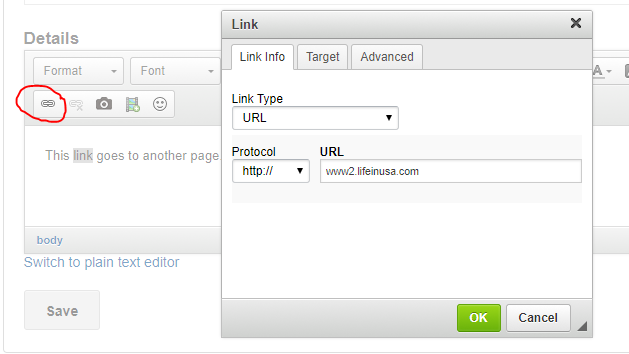
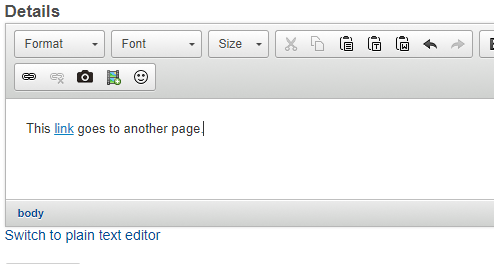
- Create a Hyperlink
To link a snippet of text to another web page, first, select the piece of text you will like to create a hyperlink on. Then click on the hyperlink icon (check out the image below). Copy the link and finally click on the accept button to finish. You will see that the hyperlinked text will appear in blue.